Week 1 – The Big Picture
Welcome to Week 1 of our 30 Days to the Yard and Garage Killer Curb Appeal Challenge! Remember these are organized on a daily schedule so as not overwhelm you in your quest to improve your home’s curb appeal.
This does not mean that you could not group these to accomplish over a few days or one weekend if that fits best within your schedule. Weeks 1 and 4 will each contain 8 days in order to cover the entire month of April.
Day 1 – Declutter your yard
This is a great first step towards getting the curb appeal that you’re looking for. Take a quick tour through your yard and side areas and identify items that need to be thrown away, replaced or reused somewhere else.
Do you have broken flower pots or garden statues still taking up residence in your yard? If so, these need to be tossed or replaced.
Have your children started using the entire front yard like a giant storage area? If so, create a space in the garage or backyard to store bikes, playsets, and other toys.
This is a great first step because it’s pretty simple and extremely low cost!
Day 2 – Trim Limbs and other Overhangs
 As you stand on the front edge of your yard and look around, do your trees seem a little “unkempt”?
If you have ivy or other climbing plants do they appear to envelop your entire house? If so, you need to do a little trimming to maximize the aesthetic benefit that these trees and plants offer.
Some tree limbs may not need to be removed entirely. If the limb itself is very long and appears to hang down because of the overall weight, you may be able to just remove part of it. Try removing some of the outer branches on the limb with a pole saw or pruning shears and see whether that is sufficient.
If you have ivy or vines on the exterior of your house or on a trellis, use a pair of hand pruners or loopers to pare back any excess growth. This is also a great time to reposition the ivy and correct training.
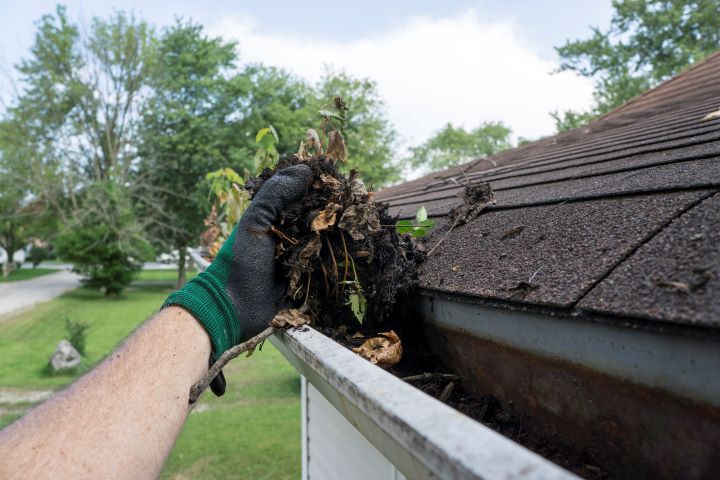
Day 3 – Clean Gutters
 This is one of those tasks that everyone hates. And I have to admit that I have let my own gutters get so bad that I’ve actually had a small tree sprout in one!
While a ladder is all most of us need to reach our gutters, there are special tools that will allow you to clear out those sagging gutters and still remain safe. Be sure to check the downspouts as well for any twigs, leaves or other debris.
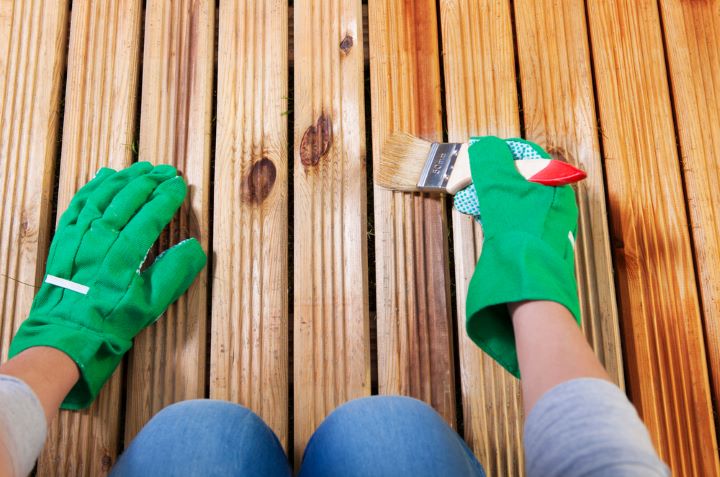
Day 4 – Stain and Seal Exterior Wood
 If you have any porches or decks, now is a good time to stain and waterproof them. Depending on when they were last pressure-washed you may need to do that prior to any staining or sealing.
Be sure to get between the individual boards to maximize the life of your deck. And don’t forget to cover all four sides of any posts or railings along the deck or stairs.
Day 5 – Pressure Wash Driveway and Walkways
 Most of us don’t really think about our driveway and how it needs to be maintained. Over time though weather and daily use will take its toll and create a layer of dirt and grime that negatively impacts your entire home’s landscape.
Using a pressure washer, along with degreaser and detergent, can make that dirty driveway look like new again. And if you have a brick driveway, the difference will be even more dramatic once that grout is spic and span. Also, be sure to clean any walkways or patios as well.
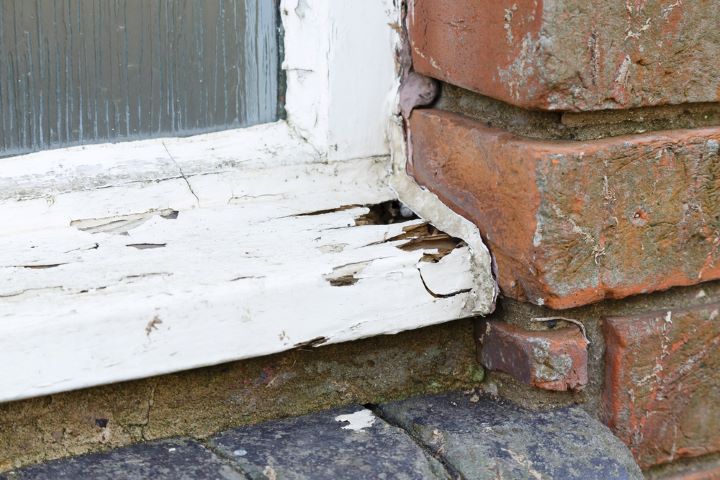
Day 6 – Identify Any Rotten or Decayed Wood
 Take a survey of your home’s windows, door frames and extended roof areas such as soffits and fascia. Do you see water damage, dry rot or other significant defects? If so, this is your chance to repair or replace any damaged wood.
Epoxy or wood putty can be extremely useful for smaller repair jobs and is extremely durable. Before using though, be sure to clean the remaining wood and remove any mold or fungus.
You should also try to determine the source of the water damage or dry rot so that it can be addressed and avoid any future issues. Unfortunately, some wood may be beyond repair and will require replacement.
Day 7 – Trim Hedges and Shrubs
 It’s time to take a look at all the hedges and bushes across your yard. Don’t look at them individually but rather as components in the overall picture that you’re trying to present. Are you using them to create a border?
Is the overall number and placement of the hedges or bushes symmetrical and pleasing to the eye? Because they are often large enough to be seen from a distance, shrubs and hedges may have a disproportionate impact on your home’s curb appeal.
A straight line with sharp edges is a classic look for hedges and fairly easy to maintain. Shrubs may require a little more artistic element when pruning and trimming to create round or flared shapes.
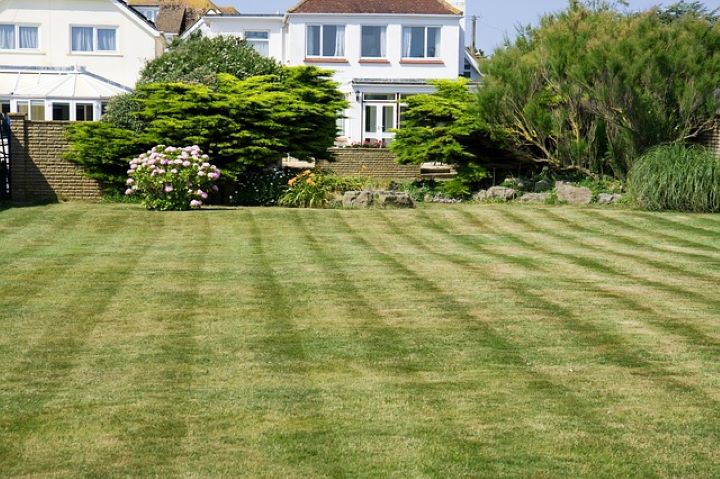
Day 8 – Mow the Yard
 This is a task that all homeowners are comfortable with but I saved it until the end of the week. A freshly mowed yard can make such a change that you may have decided these other items were not necessary.
The combined effect of mowing the yard plus the steps taken above should really show you the potential of your house’s curb appeal. Be careful to not cut the grass too short and try a new mowing path to avoid creating a specific wear pattern in your lawn.
—
Congratulations! You’ve made it through the first week – and it is definitely the hardest week because it covers such a large area. Over the next three weeks, we’ll go more in-depth on specific focus areas.
- Week 1 – The Big Picture
- Week 2 – Front Porch and Facade
- Week 3 – Mailbox and ancillary areas
- Week 4 – Final touches
Be sure to check back to finish out the 30-day curb appeal challenge!


