Week 2 – The Front Porch
This week we will narrow our focus and put a critical eye on the front area of the house. This area has such a major visual impact on curb appeal, and there are several things you can do to bring it up a notch.
Day 9 – Remove Algae or Mold from Front Porch
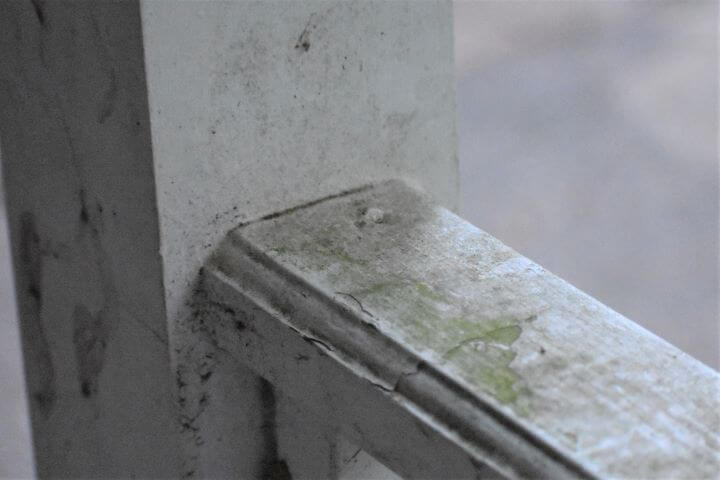 Today I want you to walk around your front porch, stoop or whatever you have for your entryway. Examine the edges and all those tiny crevices for any mold, mildew, or algae.
Concrete or tile can be cleaned using a pressure washer; however, I’d be hesitant to use that strong of a device on wood.
To protect the wood, I recommend using a mixture of bleach and water along with a scrub brush.
There are special detergents advertised, but I haven’t used them yet, so I can’t comment on whether they would be effective.
You should be able to do a final rinse using your regular garden hose. You just don’t want to use too high of a setting and have the paint peel off.
You may need to touch up the paint on your porch or maybe give it a whole new coat to freshen it up, even if you did not find any mold or mildew.
Day 10 – Get a New Front Doormat
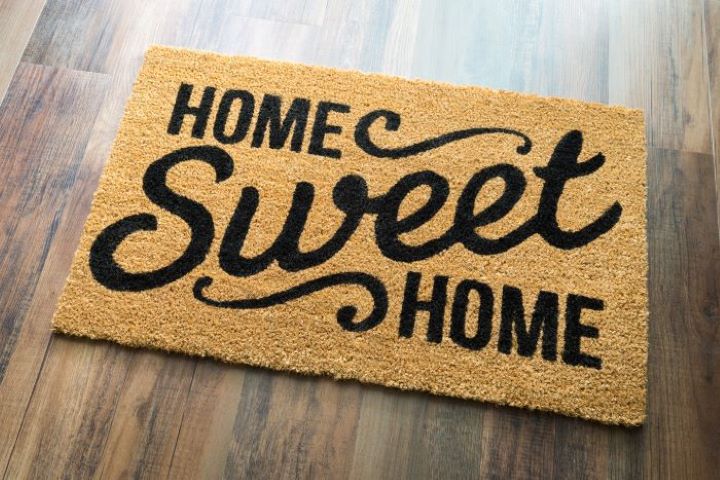 If you’re like me you probably don’t even know the state of your current doormat. This is one of those items that we see so often we don’t really see it.
Take the time now to examine the current state of your welcome mat. It will most likely need to be cleaned but replace it if it is frayed, torn, or doesn’t clean up nicely. This is actually one of those items where you can show off your personality a little bit.
You can find a mat that conveys sincerity, simplicity, or a killer sense of humor. In fact, other than “Go Away,” I don’t think you can wrong whatever you finally select.
Day 11 – Update Front Door with a New Coat of Paint
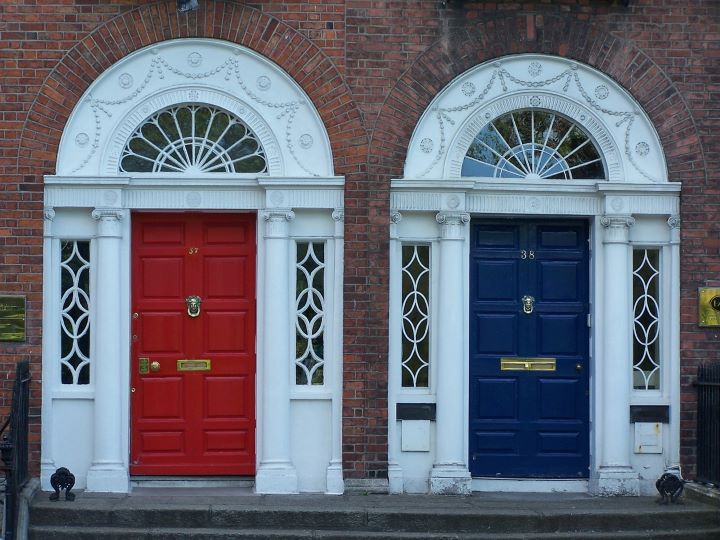 As you can tell, front doors are a key player in getting that fantastic curb appeal. There’s no need to be satisfied with the original factory color.
Doors come in all the rainbow colors now, including yellow, blue, and even violet! Now, I’m not saying to go ahead and paint your front door neon orange just to make a statement. But I’ve seen mundane houses become superstars with the right front door color.
There are actually lots of paints made specifically for front doors, don’t require priming, and are weather-resistant. They also come in a variety of colors, so you should not have any difficulty finding one that is complementary to your house.
If you are hesitant to just go straight into a bright red, try a softer hue of blue, grey, or yellow. Don’t forget about the trim around your door, which may need a refresh as well.
Day 12 – Spruce Up Front Entrance with Large Potted Plants
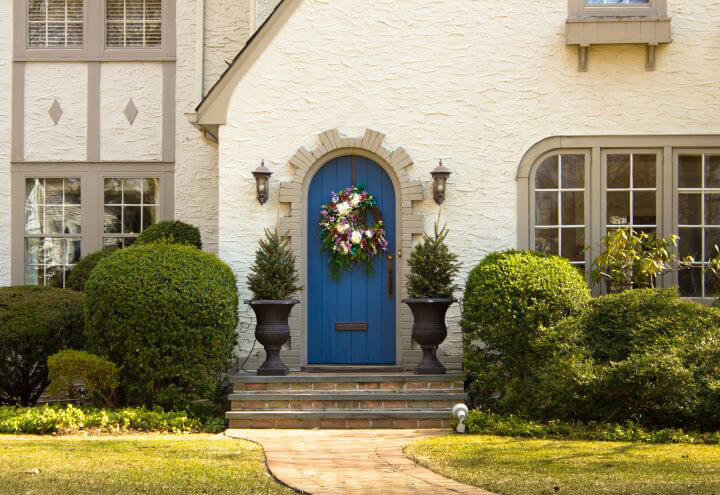 We all know that potted plants are a great way to spruce up that front entrance but the style of your house will cause to choose a particular item. You have the option to just frame your front door with a large potted plant on either side or have a variety on your front steps.
If your house is a country farmhouse, you may choose a variety of wildflowers in a barrel type of look. Or, if your house is in a traditional suburb, you may want to select a taller, more narrow planter graced with a fern or similar plant.
And finally, if your house is quite large, a small potted tree or topiary on either side of the front door may be more appropriate.
Whichever you choose, just remember symmetry is extremely important!
Day 13 – Add Wreath or Door Hanger to Front Door
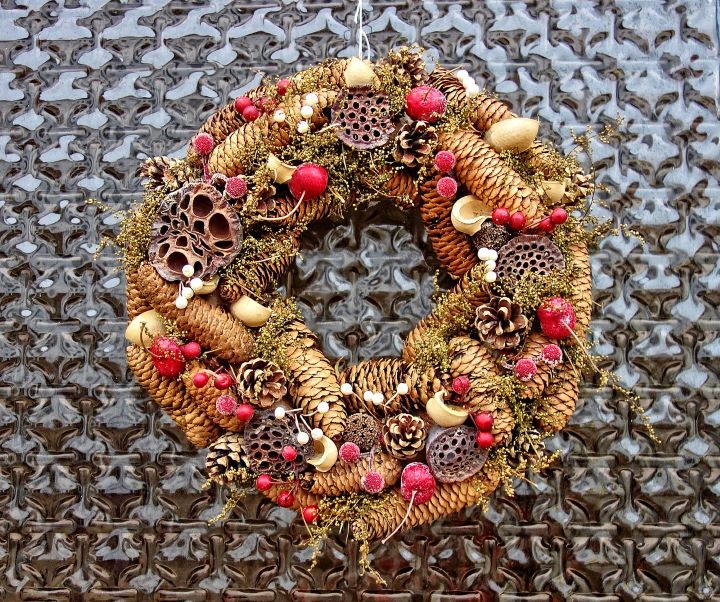 Adding a wreath to your front door used to be a holiday-only option, but now the front door looks naked without something on it. Wreaths come in a variety of colors and textures, and even themes. I’ve seen nautical themes, woodland themes, and even a unicorn wreath!
Of course, wreaths are not the only option these days. Large monogrammed door hangers using either your last name or just one letter are extremely popular. You can find one in a wonderful bright color or design that suits your personal style. Regardless of which option you choose, you’ll be sure to make an impact!
Day 14 – Replace or Upgrade Your Porch Lights
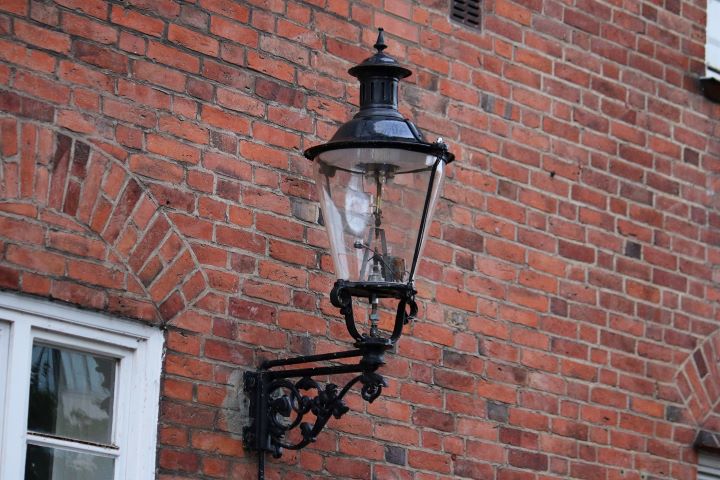 Admit it, you probably pay little or no attention to the lights on your front porch. In fact, if I asked you to describe them right now, you would struggle to even remember the color.
They are just one of those items that we see every day and ignore. So take some time during both daylight and nighttime hours to view your porch lights. Be sure to take a walk to the edge of your yard and view them from that distance as well.
Are they attractive? Do they create a warm, comforting glow? Are they large enough? If your answers are no, you will need to replace them.
If you’re okay with the style to take some time to remove the glass and clean it if necessary. Make sure all those cobwebs are gone as well. Also, be sure you have the correct type of bulb for outdoors and the proper strength.
If you do need to replace the lights, you can generally find some on sale. Be sure to look at specialty lighting stores for discontinued items and not just the big box stores. If you’ve been wanting to upgrade from that traditional black sconce, now is the time.
Day 15 – Create a Welcoming Seating Area
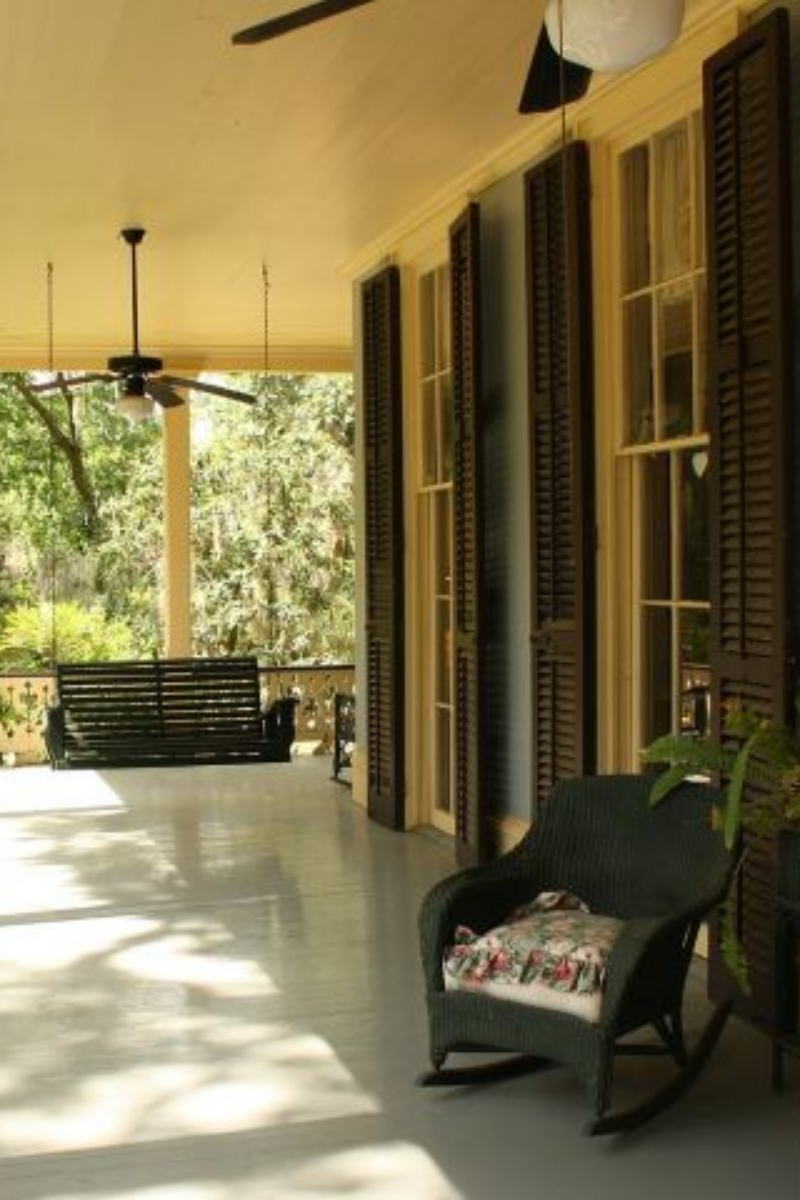
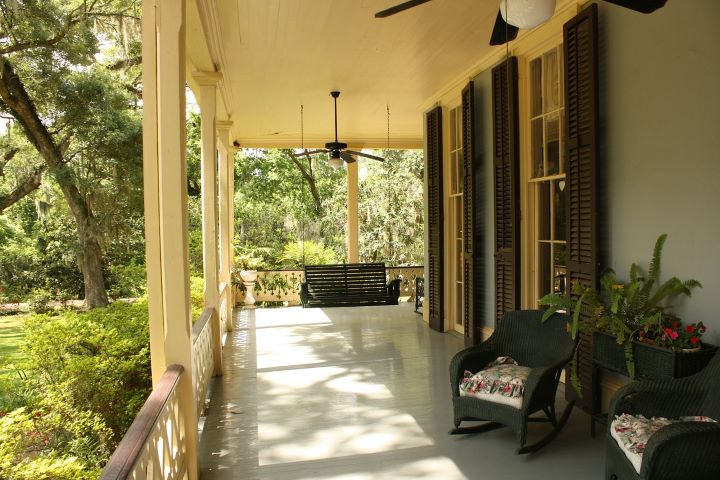
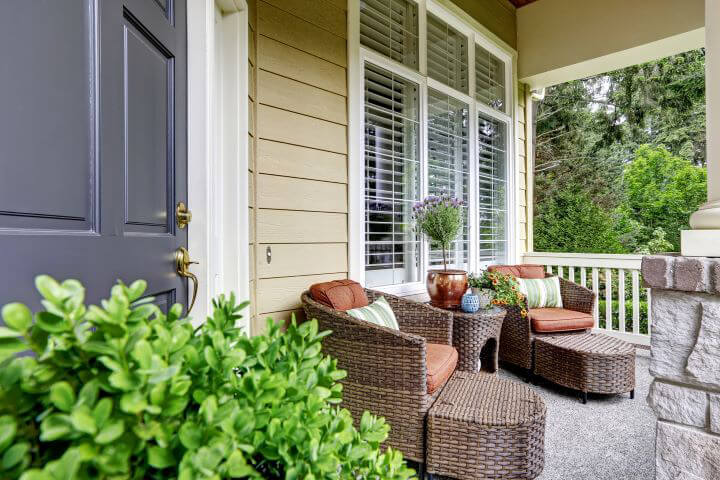 There is something so inviting about a seating area on your front porch. If you have a large Southern-style porch, you may have the classic porch swing along with a few deep-seated plush chairs.
If your front porch is small, you may only have room for a small chair or table. But, regardless of the size, a beautiful seating area is a huge factor in getting the curb appeal you’re looking for.
Don’t feel constrained to use only white or other muted colors in your seating area. You can always add a colorful pillow or two as well as a brightly colored potted plant to stand out.
And while symmetry is always essential, if your front porch is too small to house two chairs and a table, feel free to use a bench with two small tables or potted plants on end. You can still achieve the balance and aesthetic you’re looking for in even the tiniest of spaces.
Be sure to read the other articles in our Killer Curb Appeal series.
- Week 1 – The Big Picture
- Week 2 – Front Porch and Facade
- Week 3 – Mailbox and ancillary areas
- Week 4 – Final touches
