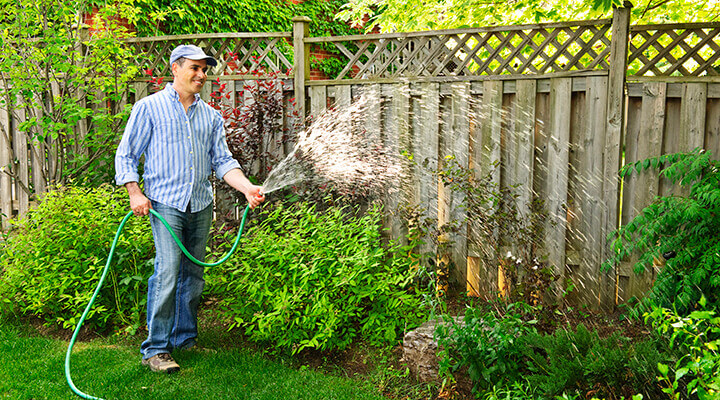
Water hoses have long been an important part of maintaining a lawn or garden. The fact that they can supply vast quantities of water on demand to even the furthest reaches of a property makes them a truly valuable tool.
If you want to get the most from your hoses, however, it’s essential that you know how to properly care for them. Use the following garden hose maintenance tips to get longer life from your hoses.
Table of Contents
Put Them Away
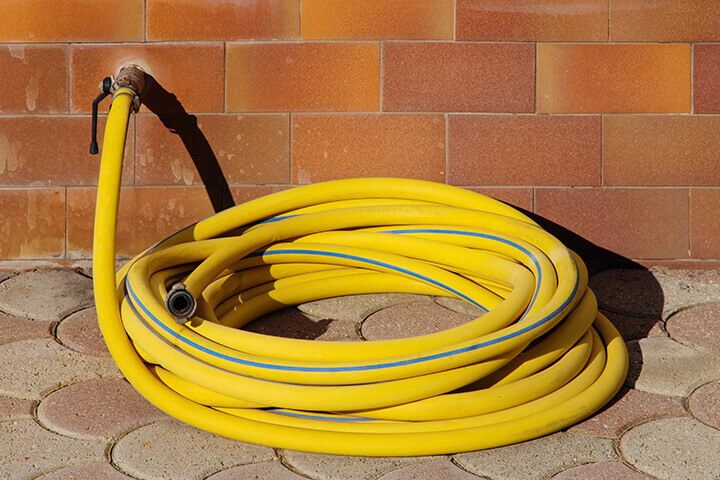
One of the most common plights of hoses is being left on the ground. Although it’s more convenient to leave a hose lying on the ground than to roll it up properly, it’s generally not advised.
A hose that is left strewn about is easy for people to trip over and may be run over by lawn mowers and weed eaters. In addition, the rubber is highly vulnerable to decay from the elements.
If you leave your hoses out for extended periods, moisture and exposure to sunlight may lead to premature rotting or cracking.
Because a decent hose costs a lot of money, it’s recommended that you roll them up and store them in a safe place when you’re done with them.
Storage
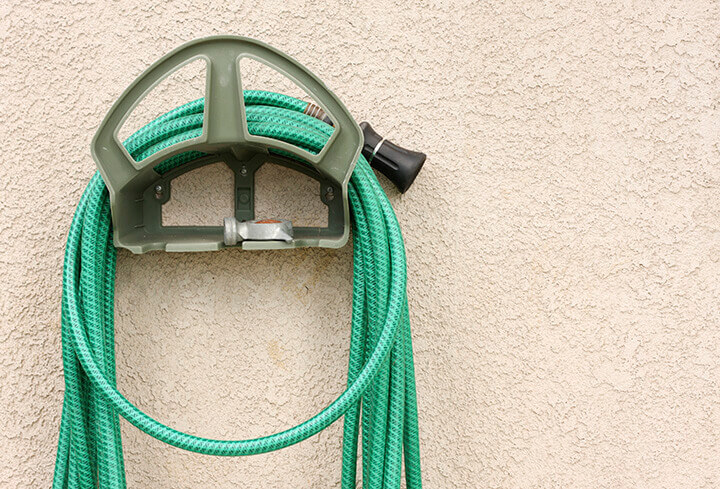
There are many ways to store a hose. You can loop it easily over a bracket that has been fastened to a wall or fence post.
You can also attach it to a specially designed reel that allows you to effortlessly roll it up. Some will even do this automatically, saving you time and energy.
A hose reel is the most common way to store a hose. When you’re done with the hose, you can safely tuck it away simply by turning a handle.
A hose reel also makes it more convenient to store your hose once the gardening season is over.
A decorative hose pot will keep your backyard attractive and make your hoses last longer as they will be out of the harmful sunlight.
Keeping Kinks Away
Kinking hoses are a common complaint from gardeners and homeowners. Not only does this disturb water flow but it can also degrade the hose’s structural integrity.
With time, kinks tend to cause cracking, which can lead to leaks. Eventually, leaks can become so bad that they can result in a lack of sufficient water pressure, making the hose useless.
Take great care to wind up your hose evenly because staying in a kinked position for extended periods can dramatically reduce its useful life.
A couple of repair tips for your garden hoses
Leaks at the faucet
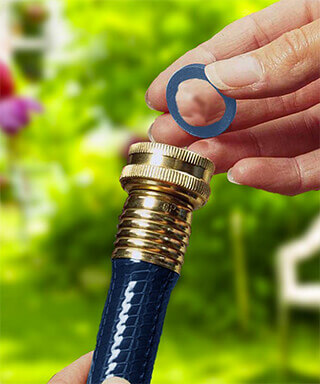 The first tip is to check the washer that’s inside the coupling that connects to the faucet. These rubber washers will crack or split after a couple of years of use.
Use a pair of needle-nose pliers or a small, flat blade screwdriver to remove the washer and replace it. You can pick up these washers at Home Depot for a around $1.00 for a pack of 10.
Repairing a crack or split
If you develop a leak or crack in your garden hose it is fairly simple to repair the damage. Grab a box cutter or a sharp knife and cut out the leaking section. Make sure the cut is straight and perpendicular to the hose.
You can pick up a brass connection fitting from either Home Depot or Lowe’s for the repair.
There should be two metal clamps with the connector. Unscrew the clamp so what is large enough to fit around the hose and put one on each side of the break. Push the hose back together and tighten the clamps securely. If the hose won’t fit you may need to heat it up over a lighter or open flame. The heat will allow the hose to expand so it’ll fit over the coupling.
Crushed Ends
If either end of your hose has been damaged by running over it with a car or heavy equipment and the coupling no longer fits on the faucet you can also buy a replacement end for it. The process is the same for installing as the coupling.
A Note About Soaker Hoses
The main difference between a soaker hose and a regular hose is that a soaker is constructed from porous rubber that lets a slow and steady trickle of water through.
They’re great tools for decreasing the amount of time and effort spent on manual watering, are more efficient than sprinklers and can be easily connected to a watering timer.
Unlike regular hoses, soaker hoses are meant to be left out in the elements for the duration of the growing season.
However, it is recommended that they are put away during the winter months.
